
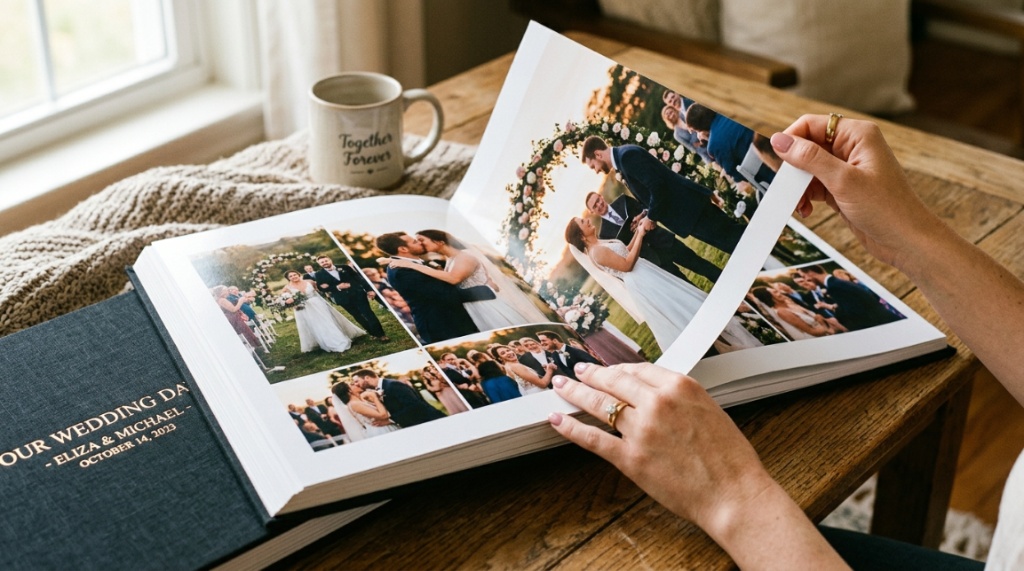
You just got married. The cake is gone, the flowers are wilting, and the confetti is swept away—but the memories remain. The hardest part now is transforming those thousands of candid shots and professional portraits into a tangible keepsake. Yet, choosing the wrong album can leave your stunning photos buried in a generic, poorly bound book. The pressure is real: you want a heirloom-quality piece that tells your unique story for generations. The answer isn’t just picking the first glossy option online. This guide will walk you through every critical decision—from materials and layout to budget and vendor selection—so you can create a wedding photo book that makes you relive the “I do’s” every single time you turn a page.
We understand the dilemma: overwhelm, choice paralysis, and fear of making an expensive mistake. This comprehensive guide uses a proven framework to help you identify non-negotiable features, spot red flags, and choose a product that truly reflects your day. Let’s turn your digital files into a legacy piece.
What Makes a Wedding Photo Book a “Heirloom-Quality” Purchase?
An heirloom-quality wedding photo book is distinguished by materials and construction designed to last over 50 years without fading, falling apart, or yellowing. It goes beyond a simple print; it’s an archival product meant to be passed down. You’re not just buying paper; you’re buying durability, vivid colors, and a tactile experience that digital screens cannot replicate.
The difference lies in the details—acid-free papers, true linen covers, and lay-flat binding. These elements ensure your book feels as luxurious as the day you remember. Let’s break down the core components that separate a souvenir from an heirloom.
Archival-Grade Paper and Printing Technology
Look for “archival” or “museum-grade” terminology. This means the paper is acid-free and lignin-free, preventing yellowing and brittleness. Professional labs use pigment-based inks (rather than dye-based) for superior color longevity. A high-quality book should feel thick and sturdy, not flimsy like a magazine, ensuring the images pop with deep contrast. To explore more celebration milestone ideas, check out our guide on Finding gifts for weddings and christenings for your next special event.
Premium Cover Materials and Finishes
The cover is the first impression. Options range from hardcover with dust jackets to leather, linen, or even metal printing. For a premium feel, consider a padded hardcover or photo-wrapped cover. A good rule: if you run your finger over the cover and it feels “cheap,” it probably won’t survive years of handling on your coffee table.
The “Lay-Flat” Binding Advantage
A lay-flat binding allows the book to open completely flat, without a deep crease in the center of the page. This is crucial for double-truck spreads that showcase panoramic shots or full-bleed images across two pages. Precision-bound books prevent the loss of photo details in the gutter, ensuring your favorite moments aren’t hidden.
Which Photo Book Style Matches Your Wedding Aesthetic?
Your album should reflect your wedding theme—be it rustic, modern, classic, or bohemian. The style is about matching the physical attributes of the book to the visual vibe of your photos. There are three main categories to consider: Matte, Glossy, and Fine Art. A mismatch here can cheapen even the most beautiful photos.
Choosing a style isn’t just about looks; it’s about how the photos interact with light. A bright, sunlit beach wedding might look different in a glossy finish than in a soft-touch matte. Let’s explore which shifts your photos from looking ordinary to extraordinary.
Classic Leather and Linen Covers
Leather (real or vegan) provides a timeless, masculine, or classic feel. Linen offers a soft, textured, and natural look that suits rustic or garden weddings. Both hide fingerprints well and age gracefully. They are ideal if your photos are timeless and elegant, without heavy digital filters.
Modern Photo-Wrapped and Metallic Fronts
A photo-wrapped cover (where the image wraps around the front and back) is modern and contemporary. It’s also a great way to showcase your favorite portrait immediately. For an ultra-modern edge, some premium companies offer metal prints—where the entire cover is a sheet of aluminum. This style is best for high-contrast, artistic shots.
Luxury Fine-Art Albums vs. Traditional Albums
Fine-art books use hand-laid pages on thick cardstock, often with a matte finish that reduces glare. Traditional albums resemble standard photo books with thicker, glossy pages. If you have many black-and-white or moody images, fine-art matte paper (like Baryta or cotton rag) provides unmatched depth without the shine interfering with viewing.
How Many Pages and Photos Should Your Wedding Album Include?
As a general rule, aim for 20 to 30 pages, which comfortably fits 60 to 100 hand-picked photos. This avoids a cluttered, overwhelming book while ensuring you cover the entire narrative arc of the day—from getting ready to the final dance. Quality far outweighs quantity here.
Most couples make the mistake of cramming hundreds of photos onto a page, creating a photo dump rather than a story. Instead, think of it as a visual storyboard. You don’t need every image—only the ones that evoke emotion the strongest.
The Minimum Viable Spread Count
For a wedding, you need a minimum of 15 spreads (30 pages) to tell the story effectively. Anything less than 10 spreads will feel like a short brochure. You need room for the ceremony, the reception, and the key moments in between, allowing the flow to breathe with full-page images.
Selecting the “Telling” Photos, Not Just the “Pretty” Ones
Focus on emotion over perfection. Include the groom’s tear, the grandmother’s laugh, and the chaotic but fun dance floor shots. A good mix is 70% professional highlights and 30% candid, emotional reactions. This creates a balanced narrative that feels authentic, not staged, and you’ll need roughly 10-15 images per hour of wedding coverage.
Single-Page Spreads vs. Full-Bleed Collages
Do not use more than one collage per spread. Dedicate at least 50% of your pages to single full-bleed photos or well-designed duotone spreads. If you use a collage of four photos, ensure they are sequenced logically on the page to guide the eye rather than scattered randomly, which distracts from the main image.
What Is the Ideal Layout for Visual Storytelling?
An ideal layout follows a chronological order with a rhythm—alternating between wide establishing shots, medium action shots, and tight detail shots. This pacing keeps the viewer engaged. Start with a dramatic full-page image, and reserve the final pages for a quiet, romantic close.
Think of your album like a cinematic film. Every page turn is a scene change. A disjointed layout (e.g., jumping from first dance back to the ceremony) kills the emotional momentum.
Building a Chronological Narrative Flow
Begin with the preparation (dress, shoes, nerves), move to the ceremony (vows, kiss), then to portraits, and finally the reception (toasts, dinner, dancing). This linear flow makes it easy for your future children to understand the timeline of the day without explanation.
Using White Space to Let Photos “Breathe”
Do not feel the need to fill every inch of every page. White space (or negative space) around a single photo can often make a more powerful statement than filling it with smaller images. Use it intentionally to highlight the emotional peak of the room, allowing the viewer’s eye to rest.
Mixing Vertical and Horizontal Orientations
Vary the orientation to avoid monotony. If all your images are horizontal, the book becomes predictable. A vertical photo, used strategically, can signal a break in the story—like a portrait shot or a specific detail, breaking the rhythm and adding emphasis to those specific moments.
Which Materials Last Longer: Leather, Linen, or Photo Paper?
Regarding longevity, real leather (or high-grade vegan) and linen covers generally outlast photo-paper-wrapped covers, as they resist scratches and UV fading better. For inner pages, true photographic prints (on silver halide paper) often last longer than inkjet prints regarding moisture resistance, though modern pigment inks are close.
However, the “base” material matters. If you have a leather cover, the binding type plays a bigger role in longevity than the cover itself. Let’s compare the most common materials to see which is right for you.
Pros and Cons of Different Cover Materials
- Genuine Leather: Pros: Luxurious, durable, ages well, timeless. Cons: Expensive, can show scratches over time if not dyed through. Best for classic, traditional weddings.
- Linen: Pros: Lightweight, textured, unique, hides fingerprints. Cons: Stains easily if spilled on, limited color options. Best for rustic or beach weddings.
- Photo-Wrapped Paper: Pros: Cost-effective, endless design possibilities, modern. Cons: More prone to scuffing and wear, shows dust on black edges. Best for budget-conscious modern couples.
Understanding the Lasting Power of Print Technologies
There are two main technologies: silver halide (traditional lab photo printing) and inkjet (giclée). Silver halide has a traditional crystal-like look and is generally more scratch-resistant. Inkjet printing on fine-art paper provides a wider color gamut (more tones) and is perfect for black-and-white photography but needs to be stored properly to avoid humidity damage.
How Much Should You Expect to Pay for a Quality Album?
For a truly high-quality, heirloom-worthy album from a professional independent studio, expect to pay between $500 and $1,500 USD. Consumer-grade books (like those from big-box stores) are cheaper but often use thin paper and glue bindings that won’t last a decade of handling.
This cost typically excludes design time. You are paying for materials, but also for the design expertise of a professional who knows how to sequence and layout your photos to best tell the story. Let’s break down the price points.
Entry-Level: $200 – $400 (Consumer Printers)
These are printed using automated software. They are decent quality but often lack customization. The pages are thinner, and the binding is a stitched or perfect binding that won’t lay completely flat. Good for a casual keepsake you will not handle much, but not a legacy piece.
Mid-Range: $400 – $800 (Professional Labs)
Here you get lay-flat binding, thicker pages, and a wider variety of cover materials. You have more control over the design through a provided software. This is the “sweet spot” for most couples who want high quality without the high-end designer price. You will usually work with a design template rather than a custom artist.
Top-Tier: $800 – $2,500+ (Designer Boutique Studios)
This is the luxury tier. You receive unlimited revisions from a professional album designer who works with you one-on-one. The materials are top-shelf: fine art linen, genuine leather, or custom metal covers. These albums are true investment pieces, often lasting a lifetime without fading.
Can You Design a Wedding Photo Book Yourself Without Professional Help?
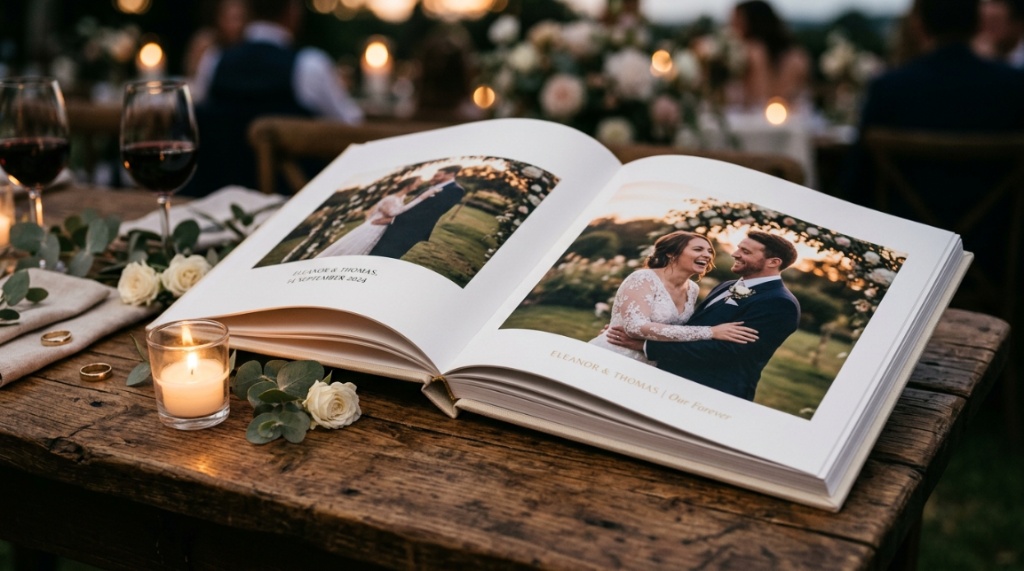
Yes, you can design it yourself, but it is a significant time commitment. DIY design is feasible if you have a good eye for design and use the user-friendly software provided by high-quality print labs. You can save hundreds of dollars in design fees, but you risk making layout mistakes that make the album look less polished.
However, there is a stark difference between a DIY design and a professional one. Professionals know how to spot distracting backgrounds, correct minor skin tones, and sequence images for maximum emotional impact. Here is how you can make DIY work if you choose that route.
Essential DIY Layout Tools and Software
Use professional software like Adobe InDesign or Shutterfly/Snapfish’s upper-tier design tools. Fundy Designer or SmartAlbums are popular choices among professionals and amateurs alike because they automatically fit photos into a grid that conforms to the gutter. Avoid using general word processors for this task.
Common DIY Mistakes to Avoid
Never, ever manually zoom in on a photo and email it to a printer—you must design at full resolution to avoid blurry prints. Also, avoid choosing a “quick preview” app for the final rendering. Most importantly, don’t forget to check the “digital proof” for each spread, as some labs print a 1px white line around images that you may miss on screen.
When to Hire a Professional Album Designer
You should hire a designer if you have more than 100 photos, are feeling overwhelmed, or are a perfectionist. They are trained to balance colors across spreads, remove minor blemishes, and choose the best images so you don’t have to make those hard decisions. Often, the design fee is worth the time you save.
How Do You Choose the Right Photo Book Vendor in Texas?
Choosing the right vendor means looking beyond price—checking their print durability, customer service reputation, and design options. A local vendor in Texas will understand the lighting and color needs of outdoor, golden-hour shots. However, many national online labs offer the same high quality and better shipping.
For those seeking a trusted local experience to see the materials in person, we highly recommend exploring a dedicated wedding photo book resource that reviews the top-tier studios in your area, helping you compare materials directly.
To avoid the “bait-and-switch” where you order a sample but get a different quality, due diligence is key. Always verify the “finishing” standards before placing your final order.
Assessing Print Quality and Proofing Practices
Ask for a physical sample or “swatch kit” before finalizing. Many reputable vendors offer these for a small fee. Check that the blacks are rich (not muddy), the skin tones are natural, and the details in the highlights are not blown out. Ensure the company provides a digital proof before going to print to catch errors.
Reading Customer Reviews and Testimonials
A vendor may look great on a portfolio, but their customer service may be lacking. Look for reviews specifically mentioning “binding quality” and “packaging security.” A premium album should be shipped in a protective clamshell box. If they don’t protect it in shipping, they probably don’t care about the final product.
Comparing Shipping, Delivery Times, and Custom Duties
Wait times vary from 2 to 6 weeks for a finished album. If it’s a rush order, ensure the vendor offers express manufacturing. Ask about the return policy—a good vendor will repair or replace albums damaged in shipping without charge. Read the fine print on what happens if the printing is off-color.
When Should You Start Designing Your Wedding Album?
Start the design process as soon as you get your final high-resolution images from your photographer, ideally within 1 month after the wedding. Memories are still fresh, allowing you to choose photos that match the emotional highs of the day, not just the technical perfection.
Different seasons affect the turnaround time. If you order during the fall (peak wedding season), expect longer delays. Planning an off-season order can get you discounts and faster service.
Planning for Holidays and Peak Seasons
Avoid ordering in November-December if you want it before the holidays—those are peak months. Instead, order in January or February to get a better price and faster service. If you need it for a one-year anniversary, start designing 3 months ahead to have a buffer for revisions.
The Best Time for Discounts and Promotions
Many labs run significant sales during Black Friday or in the Summer. However, don’t let a discount dictate your choice if the quality is subpar. A good vendor will have year-round promotions for first-time customers. If you have time, sign up for newsletters to get a 10-15% off code.
How Can You Protect and Preserve Your Wedding Photo Book?
To preserve your album, store it flat, away from direct sunlight, and in a climate-controlled room (relative humidity 40-50%). Do not store it standing upright on a shelf, as the spine can bend over time.
Handling it with clean hands is vital. Here are simple tips to keep the pages looking pristine.
Storage Solutions for Longevity
Keep your book away from UV light to prevent fading. If you display it on a coffee table, consider a glass top or a display stand that protects the cover. If you store it in a box, ensure the box is acid-free. Use cotton gloves when handling a truly expensive album, but for daily use, clean dry hands work fine.
Cleaning and Maintenance Best Practices
Never use water or alcohol-based cleaners on the pages. Use a dry, soft microfiber cloth to wipe away dust. For the cover, check the manufacturer’s instructions—leather may need a special conditioner to prevent cracking, while linen is best cleaned with a lint roller. Do not use compressed air, as it can push dust deeper into the seams.
Frequently Asked Questions
What is the best resolution for photos in a wedding book?
You need at least 300 DPI (dots per inch) at the physical printed size. For a 12-inch wide page, your image should be 3600 pixels wide. For cover images, always use the largest file size. If you are unsure if your phone photos will work, try sending a test print to the vendor first.
Should I include a foreword or written story in my album?
Yes, absolutely. Even one page at the beginning or end with your vows or a heartfelt note adds immense emotional value. It turns the book from a simple photo collection into a personal narrative, making it more special for future generations. Just ensure the font is legible and the text is proofread.
How long does a professional photo album take to ship?
Typically, a custom album takes 2 to 4 weeks to print and another 2 to 3 days for shipping. During the peak season (September to November), this can extend to 5-6 weeks. Always choose expedited printing if you are on a strict deadline.
Can I update my photo album later if I get more photos?
Usually, no. Printed albums are final. This is why it’s critical to wait until you have ALL your professional photos before designing. If your photographer sends photos in batches, avoid designing the book until the full gallery is delivered to ensure you know all available images.
What is the difference between a “digital” and “printed” proof?
A digital proof is a PDF or image file of how your pages will look, viewed on a screen. A printed proof is a physical prototype sent to you for final approval. For high-end albums, a printed proof is recommended because colors on a screen can render differently than in print.
Are thicker pages always better in an album?
Yes generally, but not always. “Thick” usually refers to the board/paper weight, which prevents the other side of the page from showing through. Look for “gallery wrap” pages that are about 1/16″ thick. If the pages are too thick, the album becomes heavy and hard to hold, so balance is key.
Is it necessary to have a minimum number of photos to start designing?
No, but you should have a minimum of 25-30 strong photos to create a cohesive spread that doesn’t feel empty. If you only have 10 great photos, it might be better to design a smaller, more impactful album rather than padding it with average pictures just to meet a page minimum.


